With a few years in the photography business, there are a few things I like to keep in mind
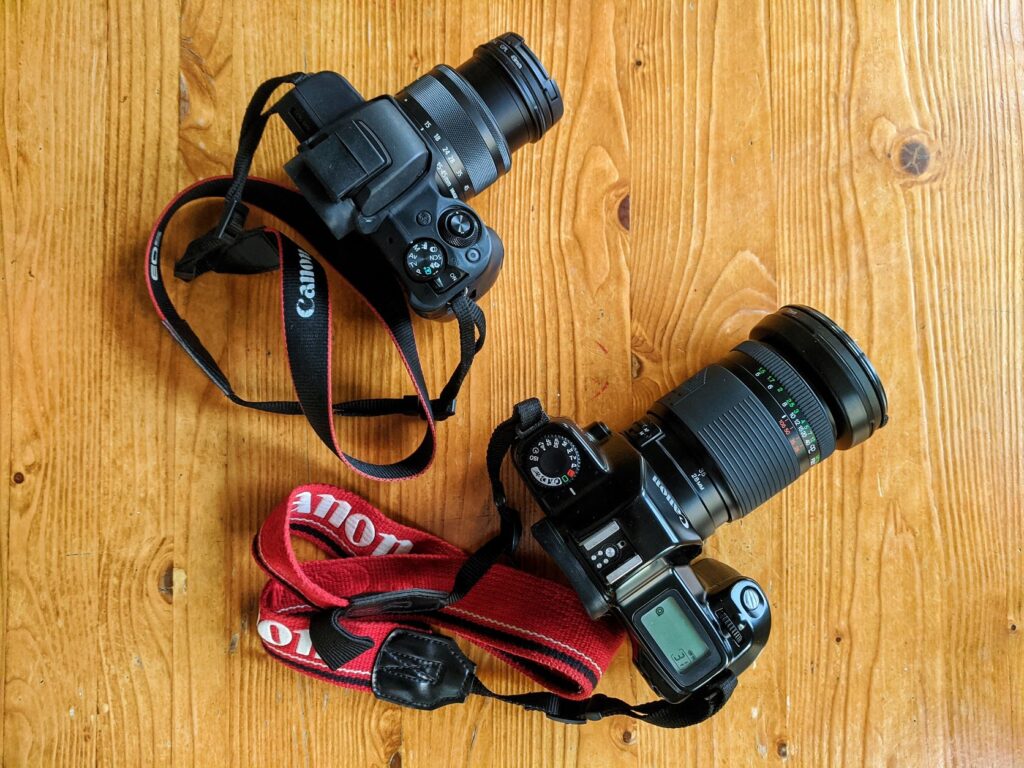
It has been some time since I launched this website with the aim of communicating my photographic interests, and to make it a portfolio of my work. At that time, the only tool for this craft at my disposal was nothing fancy or professional, but a smartphone camera (I even wrote an article on how to improve smartphone photography). Eventually, of course, I got myself a MILC (the sophisticated acronym for Mirrorless Interchangeable Lens Camera), and it was time for new challenges and lessons to learn on my way to become a better travel photographer.
Although always a photography enthusiast, I never went to school to learn about composition, the mechanics of lighting, or the exposure triangle. It has been, and still is, a self-taught journey where my teachers range from so-called YouTube gurus, and specialized articles, to hours of hikes and walks, pushing my gear to its limits and my understanding of this craft further every time. Paid work has also been a great teacher, but certainly not the one to learn from too often, when someone else’s work is on the line and one’s own professional reputation is at stake.
And with every other photographer offering the ultimate set of tips for beginners to become just as good as they are (in many cases just clickbait), it is tempting to name this post something like “lessons on photography”. Honestly, that is not the case. At least not yet. Happily enough, there are many roads left on this progressive journey of discovering my style and interests in photography!
Therefore, this post is more about the things I keep reminding myself in order to move forward, to not get discouraged with the success of others, and to enjoy the journey. These are “notes to self”. It is by no means an exhaustive list, but an iterative work that I intend to grow with time in further posts.
I do hope, however, that they can also provide useful perspectives for others trying to improve and develop their own style, and find their own audience.
1. Correct exposure settings
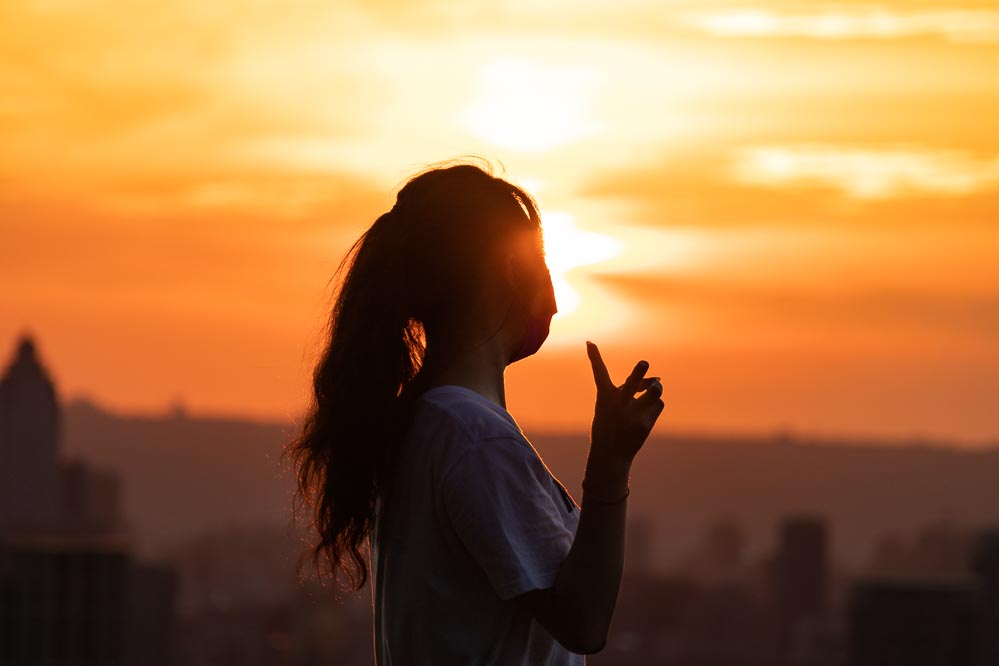
Photography is a game of light. If I try to define photography in its simplest, yet technical definition, it is about capturing an image that results from the light that bounces off objects by using a device capable of such a feat. The device we are talking about, of course, is a camera, but more specifically, its sensor. Exposure is, therefore, the time one allows that sensor to “be exposed” to that light.
With that definition in mind, I have found that most of the job to get an usable image is done when adjusting the camera for the correct exposure before shooting. This is where the so-called exposure triangle comes in, namely, shutter speed, ISO and aperture. In fact, getting the right exposure can be achieved with different combinations of these three. Ideally, I like to keep the ISO values as low as possible for a clean, sharper image.
Modern digital cameras have a built-in histogram (the small chart on the corner of the screen) that shows the distribution of the gray scale of whatever one points the camera to. This has been the safest way for me to know an image is correctly exposed, without an excess of shadows or highlights clipping. While the small screen on the back of the camera serves merely as a reference, the histogram is a more accurate way to ensure every shot has the right “measure” of light passing through the lens, to the sensor.
There is yet another factor to be considered in order to achieve a proper exposure. That is, the white balance. This is basically a measure of how yellowish (warm) or bluish (cold) the scene is, and therefore, the resulting image. This can change dramatically from one time of the day to the next when shooting outdoors, or depending on the artificial lighting of an indoor space. While one can leave the white balance set in automatic, and also change at will afterwards when editing RAW images, it is a good idea to get familiar with the Kelvin scale for lighting for more accurate results.
White balance is particularly important when the images are saved as JPEGs, since these files are a “baked” version of the image with little room for correction in post production. When doing paid work that requires immediate delivery for social media posting, no client wants photos with an excess of blue or yellow tint.
For this reason, I set my camera to always save a JPEG and RAW file for every shot. The former one for more immediate sharing, and the latter for fixing the exposure and white balance with considerably more flexibility than JPEGs, once I import the images into an editing software.
Lastly, if I find myself moving around every slider on that software, and spending more time on a single photo than I would like to admit until it looks acceptable, I know I need to put more effort on exposing correctly.
2. Tell a story with good composition
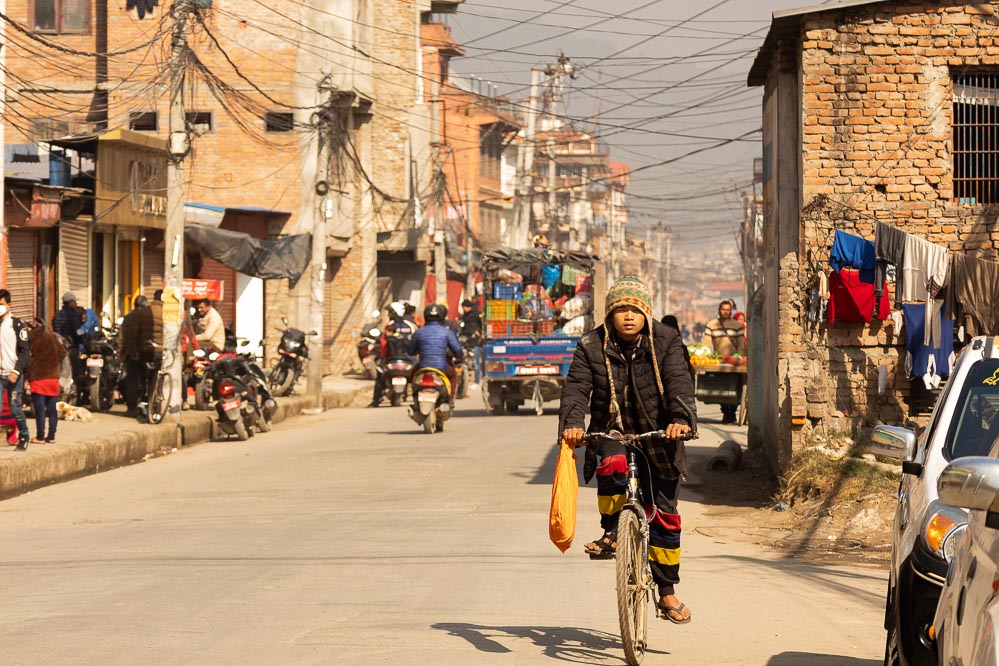
If I had to define composition in photography with my own words, I would say that it is the art of including different elements of a scene in such a manner that they enrich it, and let the mind of the viewer run free in it and fill the gaps with their imagination. The rule of thirds, background-foreground balance, and other similar principles have been useful to tell stories using still photography. Experimenting with these principles have helped me to make my compositions more interesting. For example, the imposing image of a mountain becomes more eye-catching if some foreground can be added to have an idea of its scale, or even better, a hiking trail that leads to the summit. This way, one creates a “visual playground” for the mind to roam.
In situ, getting the right composition starts by choosing a suitable lens to tell the story, since different lenses tell different stories, and the same one from different perspectives. When shooting with prime lenses, I have learned that although my legs do the work of zooming in and out, their mechanical advantages help to produce compositions in low light conditions and with shallower depths of field (the so-desired blurry background) that are not achieved with more “entry level”, multipurpose lenses.
Next, I like to identify the light source (or sources) and how it adds contrast to the scene. I have come to appreciate the dark and bright areas of an image, without obsessing too much if they end up being “irrecoverable” blacks or whites in a RAW file. If that is a natural part of the scene, or just the desired tone for the frame, shadow or highlight clipping is not necessarily a bad thing.
For this, I do not have an objective reference point. Instead, I ask myself “does this composition, with its load of blacks and whites, look similar to what my eyes see?”
In some cases, the composition can go even before traveling and taking a single picture. Yes, in some cases, I might have already passed by one particular alley, or seen a photo on the internet, and have planned a photo of my own with the elements to include, exposure settings and gear of choice in my head.
Thus, when it comes to composition, I challenge myself constantly to tell a story with every shot, and to not underestimate the mind of the viewer who completes the story adding to the image.
3. Photography post production
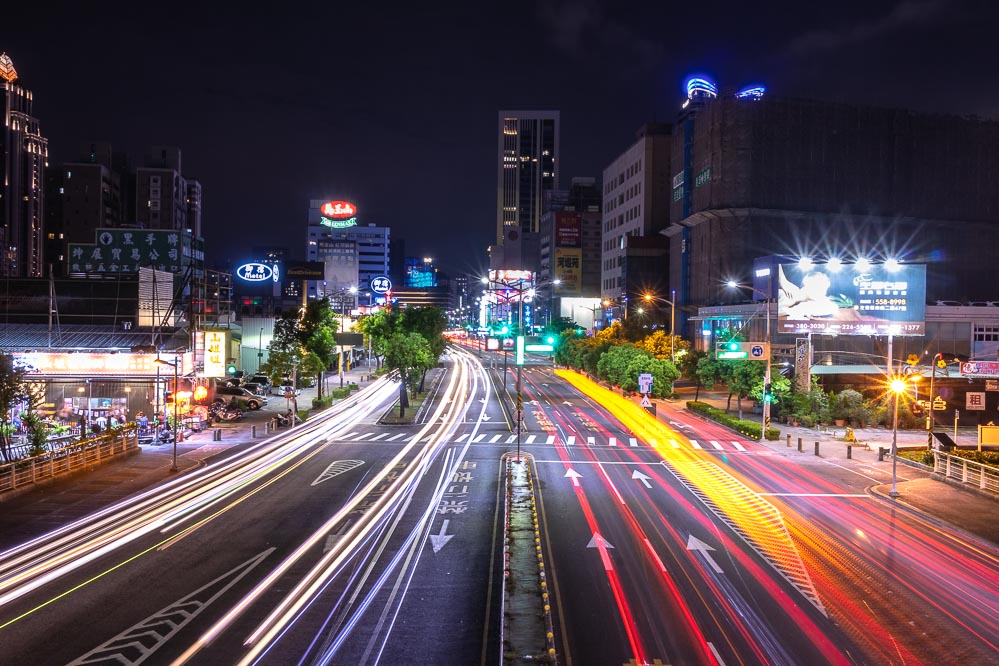
It only takes a quick search on YouTube about “photo edition” to see that there is no single formula for good photo editing. On the contrary, every photographer is keen on sharing their “editing secrets”, which at the end, just produce different styles that are aimed to different audiences and/or clients. Others make editions that follow a pattern they want to cement as their signature.
In my own journey, I have questioned the very use of editing software in the first place, and the benefits I see in their use mostly fall into correcting the lenses’ flaws (vignetting and pincushion distortion, for example), camera shortcomings (limited dynamic range being the most common), straightening an image to the horizon level, healing spots (never thought you can actually pick up the garbage from a beach using editing software), among the most important.
I usually start my editions by taking a careful look at an unprocessed image, and identify what I want to correct or enhance. The underlying question is: what is the result I want to achieve by editing this image? An image is a statement. It delivers a message. Therefore, the edition implies the intention of the editor. This helps me to feel reassured that I do not have to use all the sliders and tools available in the software in order to feel “pro”. I need to focus on knowing what message I want to communicate, and which tools can allow me to do this. So far, for example, I find little use for the tone curve, or the split toning tool.
After I feel satisfied with the edition I have done, I like to take a (little) break and come back. This short time off the screen helps me to refresh my eyes. Long periods of time staring at a bright screen takes a toll on the overall perception of an image with its colors, elements, composition, etc. Without this, I find it easy to lose track of what I was trying to achieve.
I need to remind myself that the increasing capacity of manipulation of photo editing software in coloring, sharpening, cropping, etc. offers more flexibility than ever before, but there is always a risk of relying too heavily on the promise of these softwares being able to make our images look “fantastic”, neglecting good composition with proper exposure settings when on the field.
4. Discovering and refining a personal style
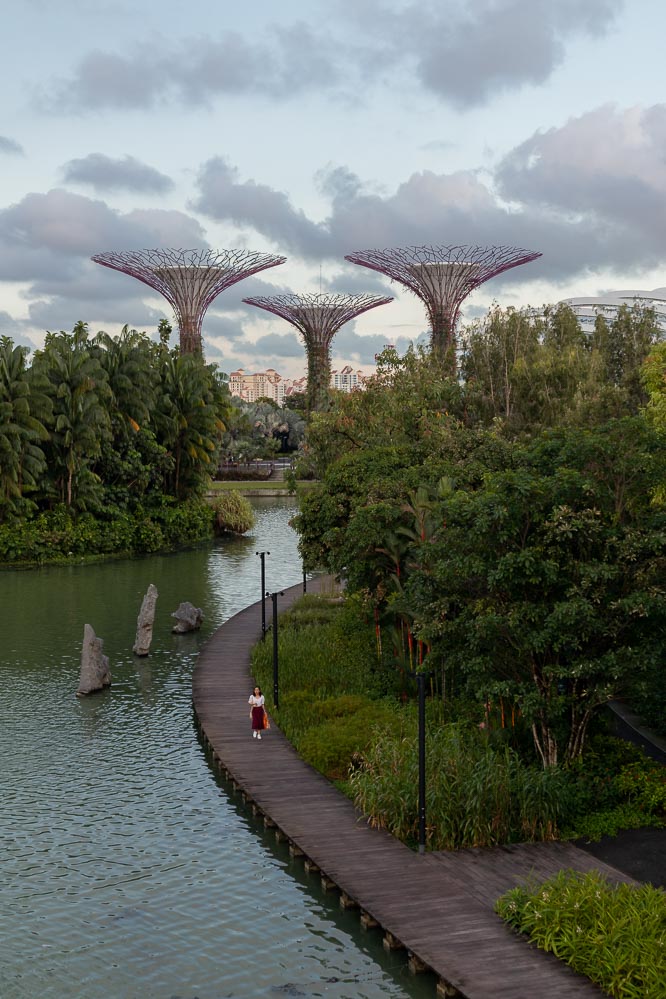
Not so long after I bought my current mirrorless camera, I went on a trip to Singapore and went a bit crazy with the new gear I acquired and how different lenses served different purposes, photographing my surroundings with the “auto” mode on. I was amazed at how far one can zoom with a lens and still get an incredibly sharp image. Not so much attention was paid to composition or exposure. After all, with the camera taking all the decisions regarding shutter speed, ISO and aperture, it worked as a fancy point-and-shoot. Now that I look back, I still think I got really great shots from that travel experience, and hold them dearly, but I have come to see not just the improvement in my technique, but also a refinement in my photographic interests.
This experience and many others that have followed have made me realize that personal style is present in all aspects of photography. Which brand and camera model to choose, lenses to buy, subject of interest, composition, edition, and even channels to showcase the work done, all of them speak of personal style.
Gear wise, I appreciate compact, lightweight gear that does not take a heavy toll on my back and that I can place inside a backpack as I hike up and down mountains, or that I can carry for longer periods as I roam through city alleys. After all, I am also carrying a tripod, a drone, and some snacks as well!
When it comes to editing, I consider myself to be discovering and developing my own style. For now, I see myself emphasizing the colors of the predominant elements of an image, but definitely not changing them for other less realistic ones. I lean myself towards communicating realism through my images. More recently, I have been experiencing new compositions with old images through cropping. Although this sacrifices resolution, it serves as a practice to know which elements I want to include the next time a similar composition crosses my viewfinder.
Lastly on personal style, I keep reminding myself that every time I look for advice from other photographers, they speak from their experience applying their style in shooting varied subjects such as sports, weddings, products, that are not necessarily my own, and therefore, I have to adapt their teachings to my own needs and styling, and avoid feeling intimidated by either their extravagant gear or success.
The more I see my photos, the more I see how they reveal my style and interests: outdoors and landscapes, and also about mysterious and fascinating urban worlds.
5. It takes a good amount of intentionality and a touch of luck to get great images
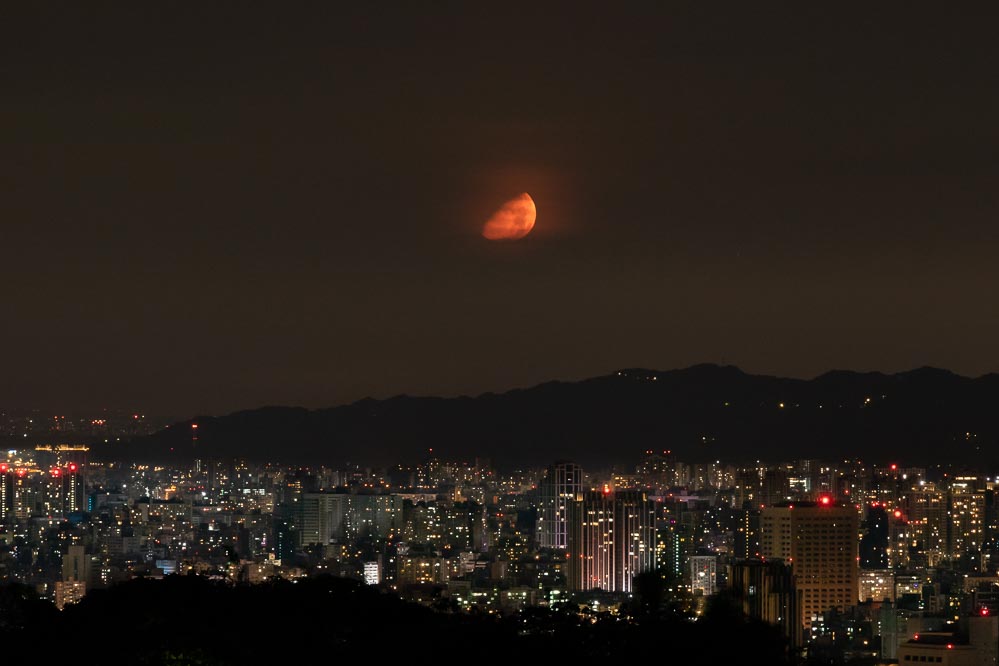
Not that I put a price on every image I capture, but certainly there is a considerable investment of resources behind many of the images that I am satisfied with. In many cases, it takes more than one trip to a specific spot to have the right conditions for the perfect frame. Once in the right place, it then requires a lot of patience for the frame to clear out of people, for the right subject to come into it, or for a particular time of the day. For landscape and travel photography, the weather is another factor that naturally plays a significant influence.
Here I am not talking about how to get a striking image by accident, but how to get good images consistently. The latter requires planning and consideration of several elements that influence the final result: weather conditions, lightning, gear, subject, occasion (special holidays or festivals), etc. And still, with all of the planning and intentionality in place, there is a chance of not getting the desired image. This is where a bit of luck is needed to finally snap a photo that is worth posting and sharing.
A perfect example of this mix of intentionality and luck is my experience photographing one of my favorite places in Taiwan, Hehuan Mountain. At the time of writing this article, I have been to this mountain range in central Taiwan three times. From Taipei City, it is a roughly 8-hour drive to get there, and requires gathering a traveling party, booking accommodation, and probably taking some time off. Definitely not the regular visit to the local park.
The very first time I visited this place a few years ago, it was a truly disappointing experience. Heavy fog covered everything to an extent that it was literally impossible to see more than a few meters in front.
Without losing hope, the second and the third time were deeply rewarding. Each one of these visits offered different angles of the majestic alpine beauty of this place: abundant tones of green, multi-layered mountain backgrounds, shades of red and orange at sunrise and sunset, including the widely acclaimed sea of clouds.
I have to remember that behind an awesome image there must be intentionality, keep going to places, have more thorough knowledge of the gear at my disposal to create compositions that reflect my personal style. This will eventually increase my chances to get more good photos consistently.
I also need to keep in mind that getting award-winning images depends less on fancy gear (worth thousands of dollars in many cases) and more on being at the right place, at the right time. This is how I got to win an award a few years ago using only my mobile phone camera. What good is a state-of-the-art camera and lens if I stay at home cuddling it instead of being in the middle of the action and making use of it? On top of that, carrying a drone, a tripod, snacks, and even a fresh set of clothes!
6. When still photography becomes frames per second
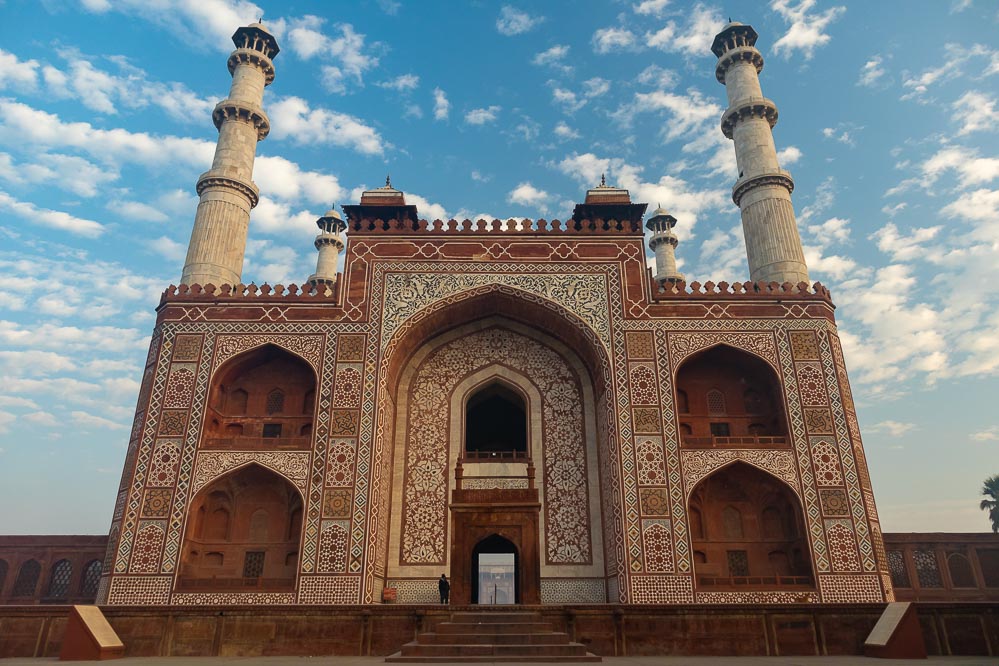
Photography has led me to other fields and to develop new skills in a strange, but still organic way. For example, although the adage “a picture is worth a thousand words” remains true, I still find myself in need of writing skills that can put stories together, or travel guides that help others to discover new places. The addition of words as captions and paragraphs can help to put the mind of the viewer in the right context of an image.
The most recent field that I am getting into is videography, and I guess it was just a matter of time before I started to explore how to give motion to the scenes that I was already portraying with my camera.
Although I have already done a few projects involving video making, I am far from being an experienced videographer, and right now I consider myself to be in front of a vast ocean of knowledge about video making to be discovered. It is the sweet stage where I am getting a good idea of how much I do not know about lightning, codecs, bitrate, color depth, and other technicalities of this craft that just go beyond still photography. It is just so fascinating to think that a video, in simple terms, is a collection of images (or frames) played at a particular rate (24, 25, 30, 60 per second) so the human eye can perceive it as movement. Equally fascinating is to examine the hardware that is capable of such prowess.
At some point, I was not only taking photos while hiking mountains or wandering through city alles, but also hitting that record button for a few seconds. The whole process from capturing several scenes while traveling to foreing lands, to stitching them together afterwards is quite satisfying, and helps me to communicate stories, letting others see what I see through that viewfinder.
Paid work also played an important part for me to start exploring videography as a career. Along with the demand of providing photos, it is common that clients also require interviews and summary videos of their events that they can use as coverage of their events on social media.
For more than a year now, I have become more active on YouTube uploading videos of my drone flights wherever I take that “flying camera” with me (and also where I am allowed to). While the long-term goal might be to grow an audience and get sponsored by companies related to my interests, uploading videos regularly builds discipline for content creation and serves as a portfolio in a similar way this website has served to display my photography and writing skills. As a nice addition, it helps me to compare my improvements in editing, shooting techniques and technical mastery of my equipment.
For all of the above, I have to keep in mind that videography, as any other craft, takes time and dedication to master, and to use my travels to put into practice whatever new knowledge I learn about it. My future self and clients will appreciate it.
Conclusion
With more road before me than behind me in my career, I am sure I will keep adding more lessons to remember in future posts, and hopefully these few above will also help anyone in the pursuit of refining their artistic potential.
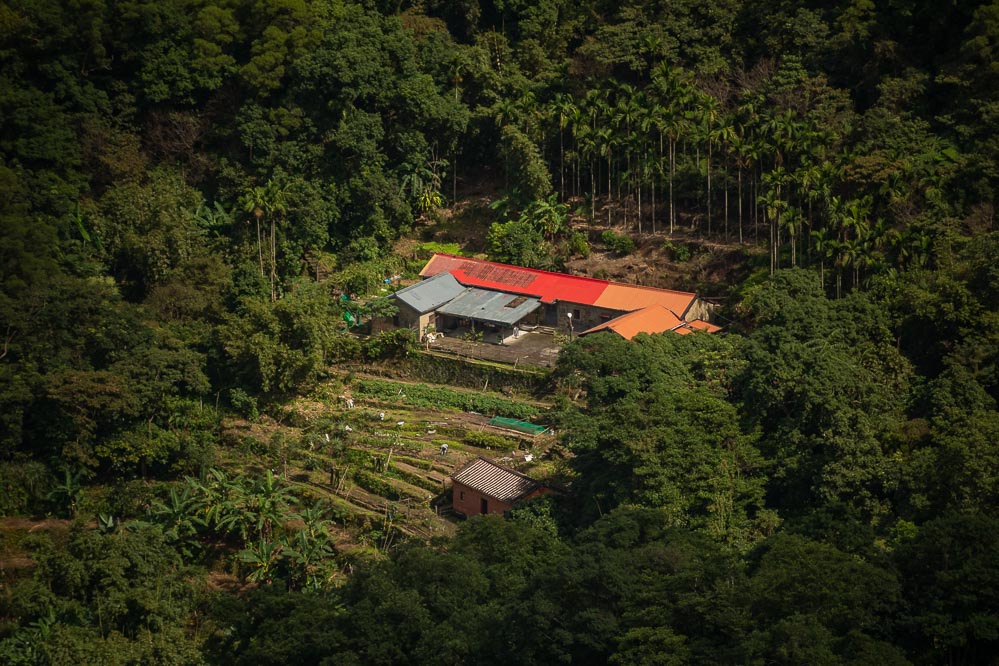
Who knows…at some point I might also write a proper article with “tips to improve your photography”, backed up by more experience and endorsement from my paid work.